Drupal 10: Make beautiful Views Exposed Filters form with a custom twig template and bootstrap formatting

Sometimes we need to build a rather complex search form with many options. We want to have total control under output, so we will override the default template by own because standard Drupal templates do not allow to the use the complex formatting. However, we can easily override the template with our custom theme or module.
All we need to know the ID of the form and the appropriate name of the template. For this, you can check using the following code: dump($form['#id']); and dump($form['#theme']); inside hook_form_alter() or hook_form_FORM_ID_alter().
In my example, we have: views-exposed-form-class-schedule-block-1 and views_exposed_form__class_schedule__block_1 , you should replace both with your values.
use Drupal\Core\Form\FormStateInterface;

/**
 * Implements hook_theme().
 */
function YOUR_CUSTOM_MODULE_theme($existing, $type, $theme, $path) {
  return [
    'views_exposed_form__class_schedule__block_1' => [
      'render element' => 'form',
    ],
  ];
}

/**
 * Implements hook_form_FORM_ID_alter().
 */
function YOUR_CUSTOM_MODULE_form_views_exposed_form_alter(&$form, FormStateInterface $form_state, $form_id) {
  if ($form['#id'] == 'views-exposed-form-class-schedule-block-1') {
    // Optional, in case, if you want to remove the title and ise own placeholder.
    if (isset($form['keywords']) && $form['keywords']['#type'] == 'textfield') {
      $form['keywords']['#attributes']['placeholder'] = t('My custom placeholder');
      unset($form['keywords']['#title']);
    }
  }
}
hook_theme() - Register a module or theme's theme implementations.
hook_form_FORM_ID_alter() - Provide a form-specific alteration instead of the global hook_form_alter().
<div class="row">
  <div class="col-sm-6">
    <div class="form-group">
      <label>{{ "Subject"|t }}</label>
      {{ form.subject_term }}
    </div>
    <div class="form-group">
      <label>{{ "Keywords"|t }}</label>
      {{ form.keywords }}
    </div>
    <div class="form-group">
      <label>{{ "Class Type"|t }}</label>
      {{ form.type }}
    </div>
  </div>
  <div class="col-sm-6">
    <div class="form-group">
      <label>{{ "Location"|t }}</label>
      {{ form.location }}
    </div>
    <div class="form-group">a
      <label>{{ "Days"|t }}</label>
      <div class="days">
        <div class="day">
          {{ form.sun }}
        </div>
        <div class="day">
          {{ form.mon }}
        </div>
        <div class="day">
          {{ form.tue }}
        </div>
        <div class="day">
          {{ form.wed }}
        </div>
        <div class="day">
          {{ form.thu }}
        </div>
        <div class="day">
          {{ form.fri }}
        </div>
        <div class="day">
          {{ form.sat }}
        </div>
      </div>
    </div>
    <div class="form-group">
      <label>{{ "Day/Night"|t }}</label>
      {{ form.night_section }}
    </div>
  </div>
</div>
<div class="row">
  <div class="col-sm-12">
    {{ form.actions }}
    {# Renders the rest of the form #}
    {{ form|without('subject_term', 'keywords', 'type', 'location', 'sun', 'mon', 'tue', 'wed', 'thu', 'fri', 'sat', 'night_section', 'actions') }}
  </div>
</div>
This particular example uses the bootstrap grid with two columns. But as I understood, you can use any HTML together with CSS and JavaScript.
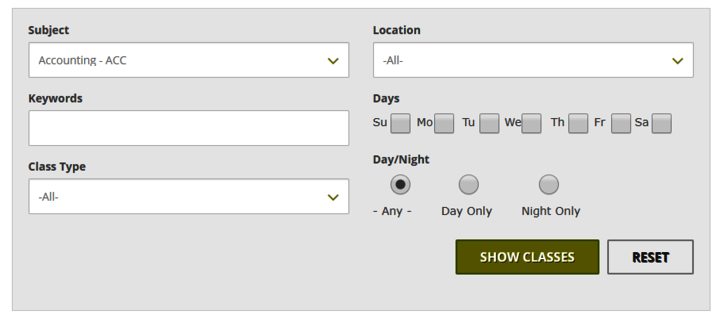
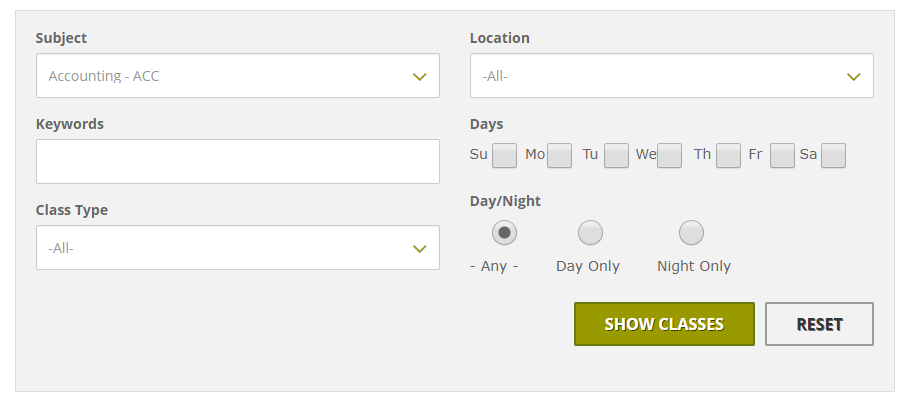
Below is my specific result for clarity.

As you can see, the implementation is very simple. In this way, you can do the theming for any form, for example, contact form of the site. You have the total control on rendering a form in a Twig template.
If you liked the article or you know how to make it better, please leave a comment, I really appreciate it.
